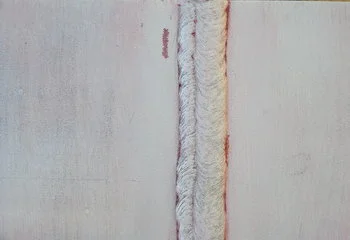
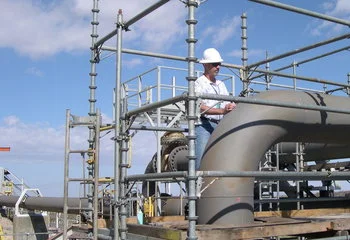
All inspection capabilities are portable and all test equipment can be readily transported to your jobsite. Tests can be performed in accordance with widely recognized protocols, such as ASTM standards and the ASME Boiler & Pressure Vessel Code, your company’s internal procedures, or a custom designed solution. My knowledge of materials processing and fabrication technologies enables reliable and authoritative interpretations of test results. The following nondestructive test methods can be used to detect discontinuities introduced in raw materials processing, subsequent fabrication, or resulting from service.
Radiographic
Industrial radiographic imaging, much like medical radiology, uses penetrating radiation to create a visual image of the internal features of the test article. I have experience with conventional film imaging, digital radioscopy, computed tomography, flash radiography and neutron radiography. I’ve also taught radiation safety for industrial radiographers.
Liquid Penetrant
Liquid penetrant examination is a relatively quick and inexpensive test method useful for detecting fractures or other surface-breaking discontinuities in non ferromagnetic materials (e.g., stainless steels, aluminum, nickel and titanium alloys). Color contrasting or fluorescent dyes are applied to test articles and are drawn into superficial flaws via capillary action. Subsequent development draws the entrapped penetrant back to the surface, enhancing visibility of these defects. Ferromagnetic materials can also be inspected; however magnetic particle examination is frequently found to be more efficient.
Magnetic Particle
Magnetic particle testing is often preferred for detection of fractures or other surface breaking or near surface discontinuities in ferromagnetic materials (structural steels). Color contrasting or fluorescent magnetic particles are attracted to defects as a magnetic field is induced in the test article, enhancing their visibility for the inspector.
Ultrasonic
Ultrasonic waves can be used in several ways to assess structural integrity. Wall thickness of pressure vessels and piping can be measured accurately, without compromising protective coatings, permitting corrosion/erosion assessments in pursuit of remaining life evaluations. This volumetric inspection method can also be used to interrogate materials for internal flaws. Typical tasks include straight beam examination of raw materials, such as barstock and plate, and angle beam examination of weldments.


